Table of Contents
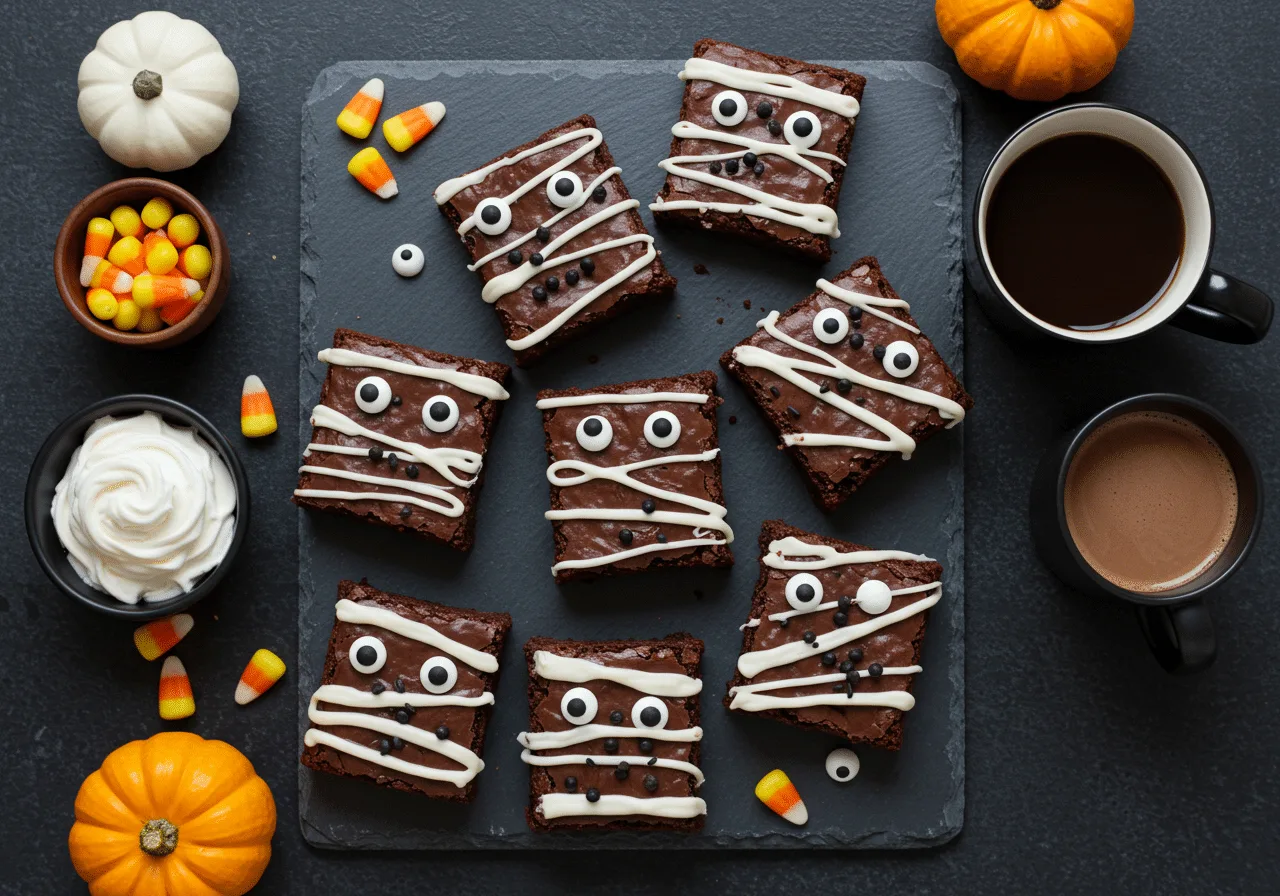
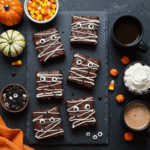
If you want a Halloween treat that looks like it took hours but comes together in under an hour, try these Halloween Mummy Brownies. Beginning with a fudgy chocolate base, a silky layer of dark chocolate frosting gives the perfect canvas for white piped “bandages” and playful candy eyes. These mummy brownies are ideal for family baking nights, school parties, or as a fun addition to any spooky dessert spread.
Why You’ll Love This Recipe
- Fast and fun: Basic baking skills and a small piping tip are all you need to turn brownies into a showstopper.
- Impressive presentation: With a few icing lines and candy eyes, the brownies become a highlight of any dessert table.
- Flexible: Make them gluten-free or use a boxed mix for a quick shortcut.
- Kid-friendly: Decorating is an easy group activity and a great way to get kids excited about baking.
Ingredient Information
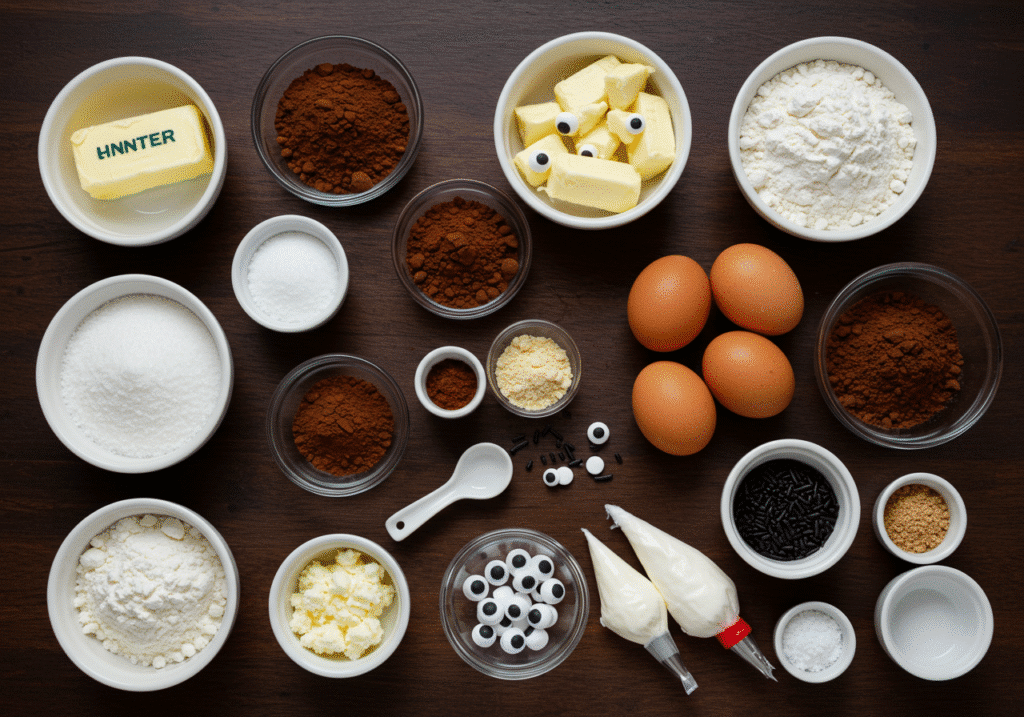
For the Brownies
- 1 cup (225 g) unsalted butter
- 1 ½ cups (300 g) granulated sugar
- 1 cup (90 g) unsweetened cocoa powder
- 1 tsp vanilla extract
- 4 large eggs
- ¾ cup (95 g) all-purpose flour
- ½ tsp salt
For Decoration
- 1 cup dark chocolate frosting (store-bought or homemade)
- ½ cup white icing, piping consistency
- Candy eyes (about 24 pairs)
- Black sprinkles (optional)
Tip: Use a high-quality cocoa for a deep chocolate flavor. If you need dairy-free or vegan, swap in plant-based butter and check frosting and candy labels for allergens.
Step-by-Step Instructions
- Preheat & prep: Preheat oven to 350°F (175°C). Line a 9×13-inch pan with parchment paper, leaving an overhang for easy removal.
- Make the batter: In a medium saucepan, melt butter over low-medium heat. Remove from heat and whisk in sugar and cocoa powder until smooth. Stir in vanilla and let cool slightly for 2–3 minutes.
- Add eggs: Whisk in eggs one at a time until glossy and well combined. The batter should be thick and shiny.
- Fold dry ingredients: Gently fold in flour and salt until just combined — overmixing will produce cakier brownies.
- Bake: Pour batter into prepared pan and smooth the top. Bake 25–30 minutes or until a toothpick comes out with moist crumbs. The center should be set but tender.
- Cool completely: Let brownies cool fully in the pan on a wire rack. Cooling is essential so frosting and piping hold their shape.
- Frost & decorate: Spread a generous layer of dark chocolate frosting. Chill briefly if the frosting is soft. Using a small piping tip (or a zip-top bag with the corner snipped), pipe irregular horizontal lines to create mummy bandages. Press two candy eyes onto each square while the icing is still tacky to secure them.
- Serve: Cut into 12–16 squares. Arrange the Halloween Mummy Brownies on a dark slate board with mini pumpkins and a bowl of candy for an atmospheric presentation.
Storage Information
Store decorated brownies in an airtight container at room temperature for up to 3 days. For the best appearance, decorate within 24 hours of serving. Refrigerate up to 5 days — bring to room temperature before serving. Unfrosted brownies can be frozen for up to 2 months; thaw completely before frosting and decorating.
Helpful Tips
- Always cool completely: Warm brownies will melt frosting and cause piping to run.
- Use a small tip: A #2–#4 round tip or a tiny snip on a plastic bag creates neat bandages for your Halloween Mummy Brownies.
- Kid-friendly decorating: Give children candy eyes and sprinkles to place — it’s a fun activity and speeds up prep.
- Make-ahead option: Bake and freeze the base (unfrosted). Thaw, then frost and decorate the day of your event.
Variations
- Gluten-free: Substitute a 1:1 gluten-free flour blend to make these mummy brownies safe for guests who avoid gluten.
- Nutty: Fold in ¾ cup chopped walnuts or pecans for additional texture and flavor.
- Flavor twist: Add ½ tsp orange extract to the white icing for a subtle citrus note that pairs beautifully with chocolate.
- Quick shortcut: Use a boxed mix labeled as an excellent base for a fast but delicious Halloween brownies recipe.
FAQ (Frequently Asked Questions)
Can I make these ahead?
Yes. Bake and cool the brownies, then frost up to 24 hours ahead. Add piping and candy eyes shortly before serving to keep the design crisp.
Can I freeze them?
Freeze unfrosted brownies for up to 2 months. Thaw fully before frosting and decorating into adorable Halloween Mummy Brownies.
What if I don’t have candy eyes?
Pipe small white dots of icing and press mini chocolate chips or a dab of dark chocolate for pupils. This DIY approach still achieves the spooky look.
Related Recipes You’ll Love
- Easy Halloween Skeleton Charcuterie Board
- Mini Spiderweb Pizzas
- Pumpkin Spice Sugar Cookies
- Halloween Dirt Cups with Gummy Worms
Share This Recipe on Pinterest
If you loved these Halloween Mummy Brownies, pin this recipe to your Halloween board so you can make it again next year. Snap a picture of your spooky creations and tag us — we love seeing creative takes on these festive treats.
PrintHalloween Mummy Brownies
These Halloween Mummy Brownies are fudgy, festive, and frightfully fun! Each brownie square is topped with rich chocolate frosting, drizzled with white icing to mimic mummy bandages, and finished with candy eyes for a playful, spooky touch. Perfect for parties, bake sales, or a family Halloween night treat.
- Prep Time: 15 mins
- Cook Time: 30 mins
- Total Time: 45 mins
- Yield: 12 brownies
Ingredients
– 1 box brownie mix (plus ingredients listed on the box)
– 1/2 cup dark chocolate frosting
– 1/2 cup white icing (piping consistency)
– 24 candy eyes
– Black sprinkles (optional, for decoration)
Instructions
1. Prepare and bake the brownie mix according to the package instructions. Let it cool completely.
2. Once cooled, cut the brownies into equal squares and arrange them on a serving board.
3. Spread a thin layer of dark chocolate frosting on each brownie.
4. Using a piping bag with a small tip, drizzle white icing across the brownies in a zigzag pattern to resemble mummy bandages.
5. Place two candy eyes on each brownie before the icing sets.
6. Add black sprinkles for extra detail, if desired.
7. Let the icing firm up before serving or storing.
Notes
Store leftovers in an airtight container at room temperature for up to 3 days. For longer storage, refrigerate for up to 5 days or freeze for up to a month.