Table of Contents
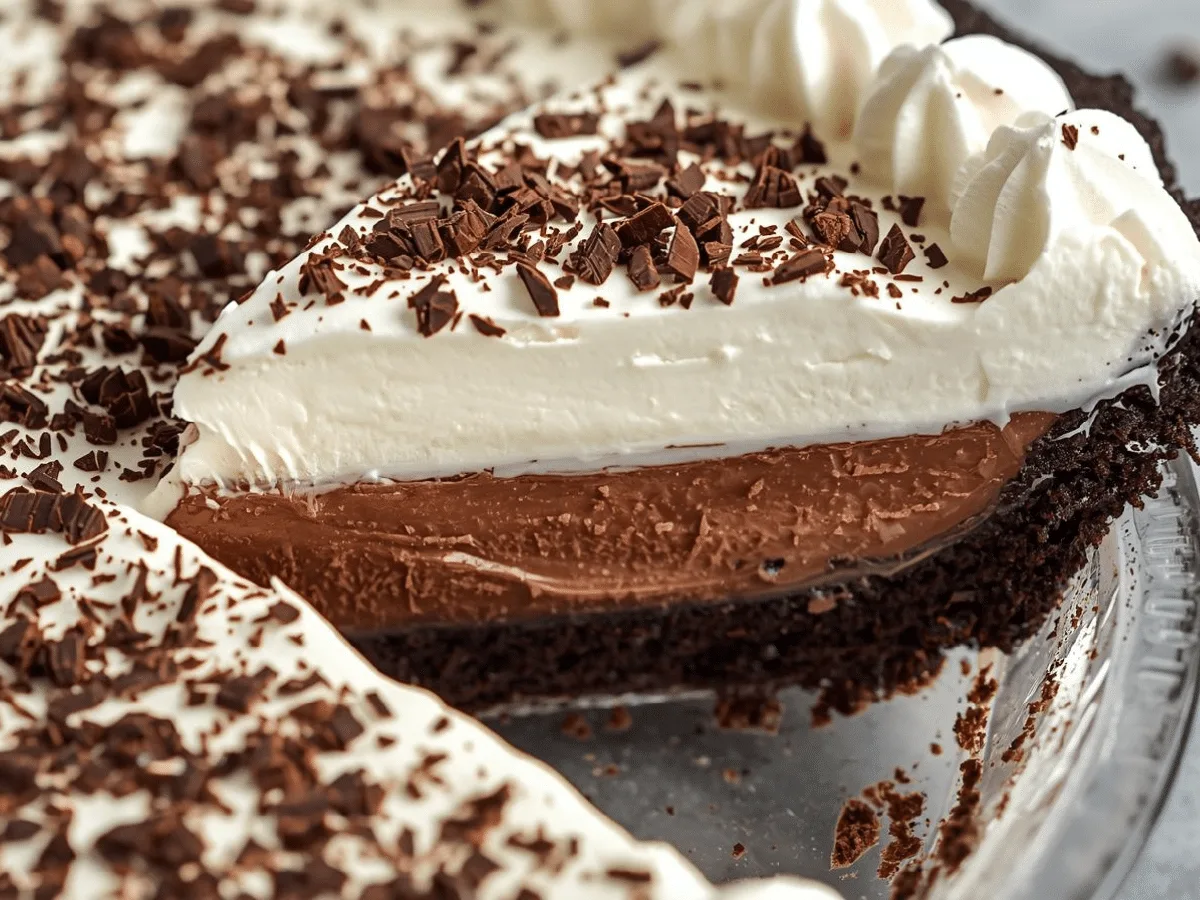
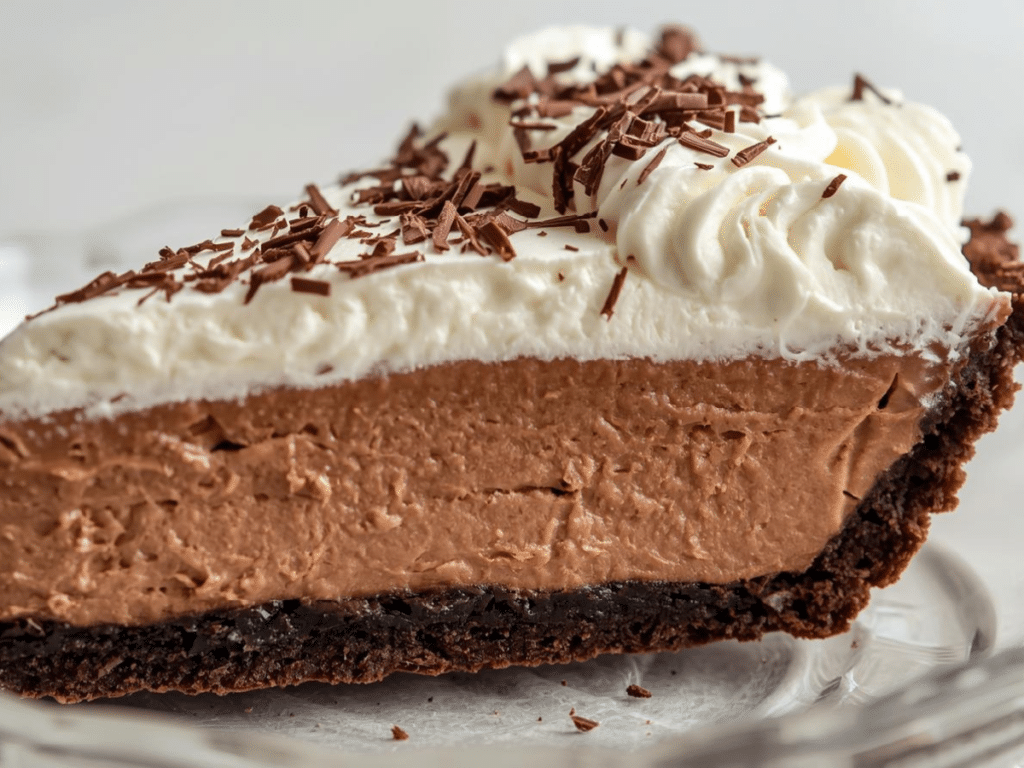
Imagine a dessert that combines the nostalgic comfort of a classic diner treat with the sophisticated richness of a gourmet dark chocolate tart. This chocolate cream pie is exactly that—a masterpiece of textures that starts with a crunchy, buttery chocolate sandwich cookie crust and ends with a cloud of pillowy whipped cream. Every bite of this chocolate cream pie delivers a velvety smooth custard that has been carefully cooked to perfection.
It is a dessert designed to be the centerpiece of your table, offering a deep cocoa flavor that isn’t masked by over-sweetness. Whether you are celebrating a special milestone or simply satisfying a mid-week craving, this chocolate cream pie provides the ultimate indulgence. The recipe is surprisingly straightforward, relying on simple techniques to create a result that looks and tastes like it came from a professional bakery. By balancing the intensity of dark chocolate with the lightness of fresh cream, this chocolate cream pie appeals to kids and adults alike, making it a versatile addition to your baking repertoire.
Reasons You Will Love This Recipe
There are countless reasons why this chocolate cream pie will become a permanent fixture in your dessert rotation. First and foremost is the incredible texture—it is incredibly smooth and creamy without any of the grittiness sometimes found in cornstarch-thickened desserts. Secondly, the flavor of this chocolate cream pie is exceptionally balanced; the salt and vanilla enhance the cocoa notes without making it cloying.
You will also love how easy it is to customize, whether you prefer a classic pastry crust or the Oreo-style base we’ve used here. Because it requires no lengthy baking time for the filling, it is a great choice for warm weather when you want to keep the kitchen cool. Finally, the “make-ahead” nature of this chocolate cream pie means you can prepare it a day in advance, leaving you stress-free when guests arrive. It’s a reliable, beautiful, and deeply satisfying chocolate cream pie that never fails to impress.
Ingredients & Notes
- 24 Chocolate Sandwich Cookies: Use Oreo-style cookies for a classic, crunchy chocolate crust.
- 5 Tablespoons Unsalted Butter: Melted to bind the cookie crumbs into a sturdy base.
- 2 Cups Whole Milk: Provides the essential creamy base for our chocolate custard.
- 1 Cup Heavy Cream: Adds richness to the filling; ensure it is full-fat for the best mouthfeel.
- 4 Large Egg Yolks: These act as a thickener and add a luxurious, fatty depth to the pie.
- 3/4 Cup Granulated Sugar: Just enough to sweeten the dark chocolate without being overpowering.
- 1/4 Cup Cornstarch: The key to achieving that perfect, sliceable yet silky texture.
- 6 Ounces Dark Chocolate: Chopped finely to melt quickly into the hot custard.
- 1.5 Teaspoons Vanilla Extract: High-quality vanilla elevates the chocolate flavor profile.
- 1/8 Teaspoon Salt: A pinch of salt is crucial to balance the sweetness.
- 1 Cup Extra Heavy Cream: For the topping, whipped to soft, billowy peaks.
- 1 Tablespoon Powdered Sugar: For stabilizing and lightly sweetening the whipped topping.
- Chocolate Curls: Optional garnish for a professional bakery-style appearance.
Step-by-Step Instructions
- Prepare the Crust: Preheat your oven to 350°F (175°C). Place the chocolate sandwich cookies in a food processor and pulse until they become fine crumbs.
- Bind and Bake: Transfer the crumbs to a bowl, mix with melted butter, and press firmly into the bottom and up the sides of a 9-inch pie dish. Bake for 10 minutes, then remove and allow to cool completely on a wire rack.
- Mix the Custard Base: In a medium-sized heavy-bottomed saucepan, whisk together the whole milk, 1 cup of heavy cream, granulated sugar, egg yolks, and cornstarch until no lumps remain.
- Cook and Thicken: Set the pan over medium heat. Whisk constantly as the mixture heats up. Continue whisking until the custard thickens significantly and large bubbles begin to pop on the surface.
- Incorporate Chocolate: Remove the pan from the heat immediately. Stir in the finely chopped dark chocolate, vanilla extract, and salt. Continue stirring until the chocolate is fully melted and the custard is a uniform, glossy brown.
- Strain for Silkiness: For the smoothest possible chocolate cream pie, pour the hot custard through a fine-mesh strainer directly into the cooled pie crust. This removes any small bits of cooked egg or undissolved cornstarch.
- Chill Thoroughly: Smooth the surface with a spatula and place a piece of plastic wrap directly on the custard to prevent a skin from forming. Refrigerate for at least 4 hours, or ideally overnight, until the pie is completely set.
- Whip the Topping: In a cold bowl, beat the remaining 1 cup of heavy cream and powdered sugar until soft to medium peaks form.
- Finish and Serve: Spread the whipped cream generously over the chilled filling. Garnish with chocolate curls or extra cookie crumbs if desired. Slice with a warm knife and serve immediately.
Tips for the Perfect Chocolate Cream Pie
The secret to a perfect chocolate cream pie lies in the cooking process of the custard. Always use a heavy-bottomed saucepan to prevent the milk from scorching on the bottom, which can ruin the flavor. Constant whisking is non-negotiable; it ensures that the heat is distributed evenly and the cornstarch doesn’t clump. If you notice the mixture thickening too quickly, simply lift the pan off the heat for a few seconds while continuing to whisk.
Another expert tip for your chocolate cream pie is to use high-quality dark chocolate bars rather than chocolate chips, as chips often contain stabilizers that can affect the smoothness of the melt. Finally, ensuring the crust is completely cool before adding the filling prevents the base from becoming soggy. Following these small but significant steps will guarantee a professional-level chocolate cream pie every single time you bake.
Variations, Swaps & Add-Ins
While the classic version is hard to beat, you can easily adapt this chocolate cream pie to suit your specific tastes. For a deeper, more intense flavor, try using an extra-dark 70% cocoa chocolate. If you prefer a lighter, milk-chocolate vibe, simply swap the dark chocolate for a high-quality milk chocolate bar and reduce the sugar by a tablespoon. For a fun texture contrast, you can stir a handful of toasted pecans or almonds into the custard before pouring it into the crust.
If you’re looking for a “Mexican chocolate” twist, add a teaspoon of ground cinnamon and a tiny pinch of cayenne pepper to the filling. You could even swap the Oreo crust for a graham cracker or pretzel crust if you enjoy a salty-sweet combination. This chocolate cream pie is a fantastic canvas for your culinary creativity, allowing for endless delicious modifications.
Serving Suggestions and Presentation
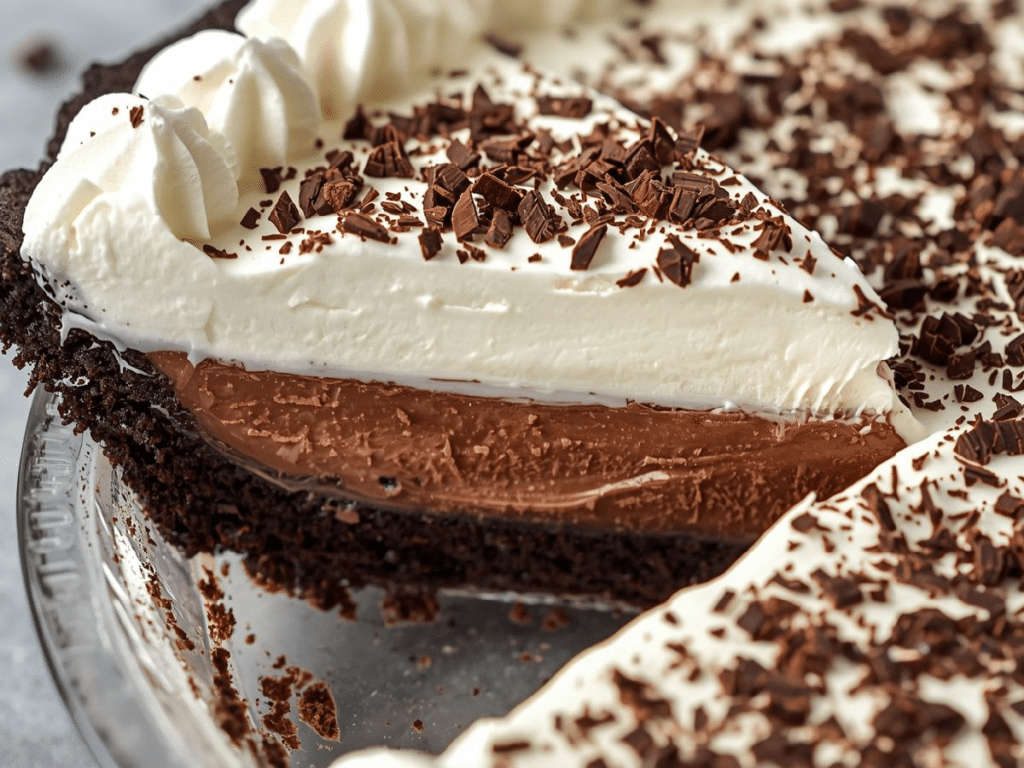
Presentation is key when serving a chocolate cream pie. To achieve those clean, bakery-style slices, always use a sharp knife dipped in warm water and wiped dry between every single cut. This prevents the whipped cream from smearing into the dark chocolate layer. For a modern look, you can pipe the whipped cream in small dollops around the edge instead of spreading it flat.
Adding a dusting of cocoa powder or a few fresh raspberries on top provides a beautiful color contrast against the white cream. Serve each slice of chocolate cream pie on a chilled plate to keep the custard firm while eating. These small touches transform a simple homemade dessert into a sophisticated final course for any dinner party.
Best Sides to Serve With This Pie
While this chocolate cream pie is a powerhouse on its own, certain sides can enhance the dining experience. A bowl of fresh, tart berries like raspberries or strawberries provides a wonderful acidity that cuts through the richness of the chocolate. For a more decadent approach, a small scoop of vanilla bean ice cream on the side is always a hit with children. If you want to lean into the “cream” aspect, an extra dollop of unsweetened whipped cream or a drizzle of caramel sauce can be delightful. For a crunchy element, consider serving the chocolate cream pie with some buttery shortbread cookies or even a few salty pretzels to balance the sweetness. These pairings help to round out the dessert and cater to a variety of palates at your table.
Make-Ahead and Storage Guide
One of the greatest benefits of the chocolate cream pie is its ability to be made in advance. In fact, the flavor often improves after a night in the refrigerator, as the custard has time to fully set and the flavors meld together. You can prepare the crust and the filling up to two days before you plan to serve it. However, it is best to add the whipped cream topping on the day of serving to ensure it remains light and airy.
Store any leftovers in the refrigerator, tightly covered with plastic wrap or in an airtight container, for up to four days. We do not recommend freezing this chocolate cream pie, as the texture of the custard can become grainy and the whipped cream may separate upon thawing. This make-ahead capability makes the chocolate cream pie an ideal choice for busy hosts.
Tools and Equipment Needed
To ensure your chocolate cream pie turns out perfectly, having the right tools is essential. A food processor is the most efficient way to get fine cookie crumbs, though a rolling pin and a plastic bag work in a pinch. A heavy-bottomed medium saucepan is crucial for even heat distribution during custard cooking. You will also need a sturdy whisk to keep the mixture smooth and a fine-mesh strainer for that final silky finish.
A 9-inch glass pie dish is ideal because it allows you to see the crust and provides a classic presentation. For the topping, a stand mixer or hand mixer will save your arm from the effort of whipping cream to the perfect peaks. Having these items ready will make the process of creating your chocolate cream pie smooth and enjoyable.
FAQs
Can I use instant pudding instead? While you can, a scratch-made chocolate cream pie has a far superior flavor and texture that instant mixes simply cannot replicate.
How long does it take to set? For the best results, let your chocolate cream pie chill for at least 4 hours, though overnight is always better for clean slices.
Can I make it dairy-free? Yes, you can substitute whole milk with full-fat coconut milk and use a dairy-free whipped topping, though the flavor will change slightly.
Why did my crust get soggy? This usually happens if the filling is added to a warm crust or if the pie is stored for more than 4 days. Always cool the crust completely first.
Love this recipe? Discover even more!
Explore my Pinterest boards for a world of delicious recipes, fresh ideas, and inspiring flavors. Click here and start pinning your next favorite dish! ➜https://www.pinterest.com/ElitesRecipes/
PrintEasy Chocolate Cream Pie
A silky, rich chocolate custard fills a crisp chocolate cookie crust and is topped with freshly whipped cream and chocolate curls.
- Prep Time: 20 minutes
- Cook Time: 10 minutes
- Total Time: 4 hours 30 minutes
- Yield: 8 servings
- Category: Dessert
- Method: No-bake
- Cuisine: American
- Diet: Vegetarian
Ingredients
24 chocolate sandwich cookies
5 tbsp unsalted butter, melted
2 cups whole milk
1 cup heavy cream
4 large egg yolks
3/4 cup granulated sugar
1/4 cup cornstarch
6 oz dark chocolate, chopped
1.5 tsp vanilla extract
1/8 tsp salt
1 cup heavy cream (for topping)
1 tbsp powdered sugar
Instructions
1. Crush cookies and mix with melted butter; press into 9-inch pie dish and bake 10 mins at 350°F.
2. Whisk milk, 1 cup cream, sugar, yolks, and cornstarch in a saucepan over medium heat until thickened.
3. Remove from heat, stir in chocolate, vanilla, and salt until smooth.
4. Strain into cooled crust and chill at least 4 hours.
5. Whip remaining cream with powdered sugar and spread over chilled pie.
6. Garnish with chocolate curls and serve.
Notes
Chill overnight for best results. Use a fine mesh strainer for a silky filling. Dip knife in warm water for clean slices.