Table of Contents
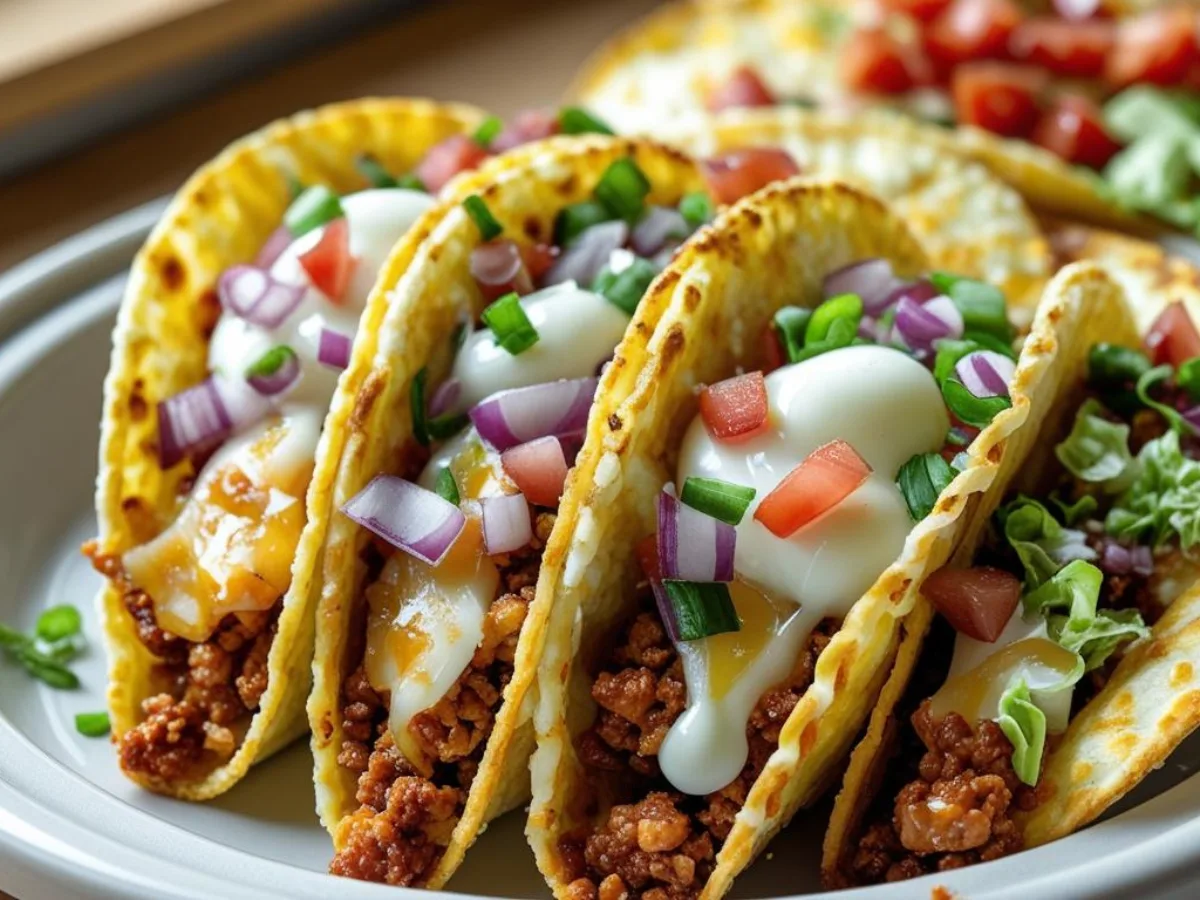
The oven-baked cheesy Tacos experience is more than just a meal; it is a sensory journey that combines the crunch of perfectly toasted shells with the richness of savory fillings. When you prepare these oven-baked cheesy Tacos, you are bringing a vibrant Tex-Mex atmosphere right into your kitchen, filling the air with the aroma of cumin, garlic, and toasted corn. This dish has become a staple for those seeking a balance between convenience and high-quality flavor, making it a standout choice for any evening.
Quick Facts / Recipe Snapshot
- Total Time: 35 Minutes
- Servings: 6 People (12-14 Tacos)
- Difficulty: Beginner / Easy
- Estimated Cost: $15 – $20
- Specifics: High-Protein, Nut-Free, Soy-Free, High-Fiber.
What Are Oven-baked Cheesy Tacos?
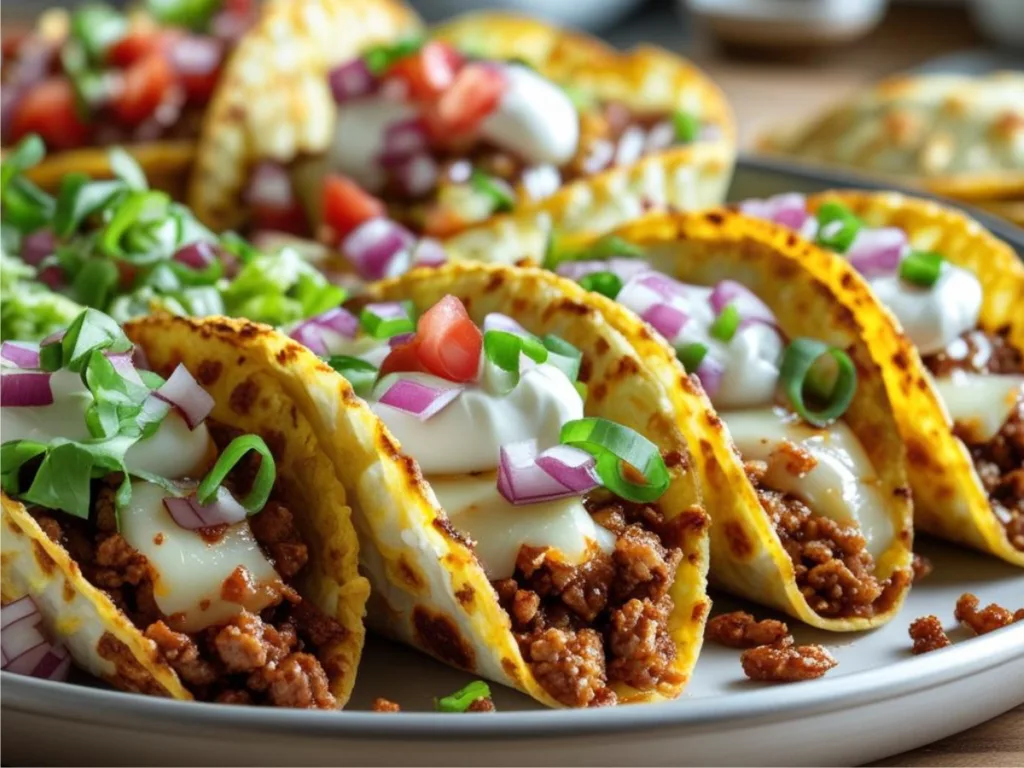
Oven Baked Cheesy Tacos represent a modern twist on the classic handheld favorite, specifically designed to be cooked all at once in a single baking dish. Unlike traditional tacos that are assembled individually and often served cold by the time the last one is ready, these oven-baked cheesy Tacos allow the ingredients to meld together under intense heat. The result is a unified dish where the cheese acts as a delicious glue, holding the seasoned beef and crispy shells together in harmony.
Origins & Culinary Inspiration
The inspiration for Oven-Baked Cheesy Tacos stems from the busy kitchens of modern American families who wanted the authentic taste of street tacos without the mess. While traditional Mexican tacos focus on soft corn tortillas, this version leans into the crunchy Tex-Mex tradition that gained popularity in the mid-20th century. By transitioning the assembly process to the oven, we have created a method that honors the ingredients while maximizing efficiency and ensuring every bite is served at the perfect temperature.
Why You’ll Love This Recipe
You will absolutely adore the textural contrast found in every bite of these oven-baked cheesy Tacos, where the bottom of the shell remains slightly tender while the edges become incredibly crisp. The convenience of being able to feed a large group simultaneously makes these oven-baked cheesy Tacos a lifesaver for hosts and busy parents alike. Furthermore, the emotional satisfaction of seeing bubbling, golden-brown cheese over seasoned beef provides a visual appeal that is truly unmatched in weeknight cooking.
Ingredients & Notes
- 1 lb Lean Ground Beef: Choose 90% lean to ensure the tacos aren’t overly greasy.
- 12-14 Hard Taco Shells: Use “stand ‘n stuff” shells for easier filling and stability in the pan.
- 2 cups Shredded Mexican Blend Cheese: A mix of Monterey Jack and Cheddar melts most evenly.
- 1 can (15 oz) Black Beans: Rinsed and drained to add texture and plant-based protein.
- 1 medium Yellow Onion: Finely diced to provide a sweet, savory base for the meat.
- 2 cloves of Garlic: Minced fresh for the most potent and aromatic flavor profile.
- 1 packet Taco Seasoning: Or a blend of chili powder, cumin, and smoked paprika.
- 1/2 cup Enchilada Sauce: This keeps the beef moist during the baking process.
Step-by-Step Instructions
- Preheat your oven to 400°F (200°C) and lightly grease a large 9×13-inch baking dish with non-stick spray.
- In a large skillet over medium-high heat, brown the ground beef along with the diced onions and minced garlic.
- Drain any excess fat from the skillet to ensure your oven-baked cheesy Tacos remain crispy rather than soggy.
- Stir in the taco seasoning, black beans, and enchilada sauce, allowing the mixture to simmer for 5 minutes until thickened.
- Arrange the taco shells standing upright in the prepared baking dish, fitting them snugly against each other.
- Place a small pinch of shredded cheese at the bottom of each shell to act as a moisture barrier.
- Spoon the beef and bean mixture into each shell, filling them about three-quarters of the way to the top.
- Generously sprinkle the remaining cheese over the top of the filling, ensuring full coverage for maximum meltiness.
- Bake for 10 to 12 minutes, or until the cheese is bubbling and the edges of the shells are golden brown.
- Remove from the oven and let rest for 2 minutes before adding cold toppings like lettuce or sour cream.
Tips for Perfect Results Every Time
To ensure your oven-baked cheesy Tacos reach their full potential, always pre-warm your taco shells for two minutes before filling them to prevent cracking. Using a deep baking dish is essential as it provides the necessary support to keep the tacos upright while they undergo the melting process. Another expert secret is to avoid overfilling the shells with sauce; a concentrated, thick meat mixture will prevent the bottom of the corn shells from becoming too soft.
Variations, Swaps & Add-Ins
If you want to move away from the traditional beef recipes, consider using ground turkey or shredded rotisserie chicken for a lighter version of these Oven-Baked Cheesy Tacos. For a vegetarian-friendly option, replace the meat entirely with a double portion of beans and roasted sweet potatoes seasoned with lime. You can also experiment with heat levels by adding diced jalapeños or a spoonful of chipotle in adobo sauce to the meat mixture before baking.
Ingredient Spotlight: Black Beans
Black beans are the unsung hero of the Oven-Baked Cheesy Tacos, providing a creamy texture that complements the bite of the beef perfectly. Culturally significant across Latin America, these legumes offer a powerhouse of fiber and antioxidants, making your meal more nutritionally dense. When baked, they absorb the savory juices from the seasoned meat, becoming little flavor bombs that enhance the overall complexity of the dish without significantly increasing the cost.
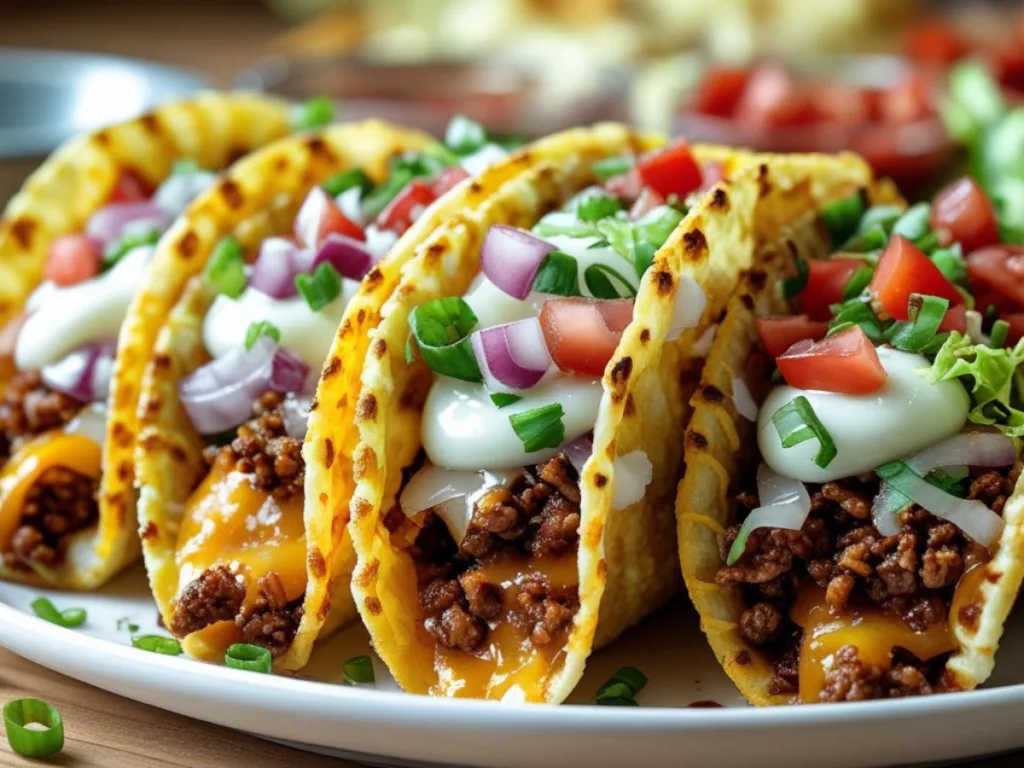
Serving Suggestions (Presentation & Plating)
When presenting your oven-baked cheesy Tacos, serve them directly in the baking dish for a rustic, family-style appeal that encourages everyone to dig in. To add a pop of color, garnish the top with freshly chopped cilantro and thin slices of bright red radish for a professional culinary finish. Providing a “taco bar” setup with small bowls of cold toppings allows each guest to customize their plate according to their personal preferences.
Best Sides to Serve With This Dish
A refreshing cilantro lime rice or a charred corn salad (elote style) makes for the perfect accompaniment to the richness of Oven-Baked Cheesy Tacos. If you are looking for something lighter, a simple shredded cabbage slaw with a vinegar-based dressing provides a crisp acidity that cuts through the cheese. For a more indulgent side, consider serving warm tortilla chips with a side of homemade chunky guacamole or spicy salsa verde.
Flavor Pairing & Beverage Match
The bold spices in Oven Baked Cheesy Tacos pair beautifully with a crisp, cold Mexican lager or a tart lime margarita on the rocks. For a non-alcoholic option, an icy hibiscus tea (jamaica) or a sparkling lime water helps cleanse the palate between each cheesy bite. The earthy notes of the cumin in the beef are also remarkably well-supported by a light-bodied red wine, such as a slightly chilled Pinot Noir.
Make-Ahead & Storage Guide
You can easily prepare the beef and bean filling for Oven Baked Cheesy Tacos up to two days in advance and store it in an airtight container. When you are ready to eat, simply assemble the shells and bake as directed, though you may need to add two extra minutes to the baking time. Leftovers can be refrigerated for up to three days; for best results, reheat them in a toaster oven to restore the crunch of the shell.
Budget & Pantry Strategy
Buying ground beef in bulk and freezing it is a fantastic way to keep the cost of oven-baked cheesy Tacos extremely low. Most of the spices used in the seasoning are pantry staples, so creating your own blend instead of buying packets can save you a significant amount of money over time. Utilizing canned beans and warehouse-sized bags of shredded cheese further ensures that this meal remains an affordable option for large families on a budget.
Scaling for a Crowd
When preparing oven-baked cheesy Tacos for twenty people, it is most efficient to use multiple rimmed baking sheets rather than deep dishes to maximize oven space. You can brown the meat in large batches and keep it warm in a slow cooker until you are ready for the assembly phase. This strategy ensures that the assembly line moves quickly, keeping the shells crisp and the cheese at the optimal melting point for all guests.
FAQs
Can I use soft tortillas? Yes, but they will be more like enchiladas and won’t have the signature crunch of Oven Baked Cheesy Tacos.
Is this recipe gluten-free? Most corn-based hard shells are naturally gluten-free, but always check the label of your taco seasoning for hidden thickeners.
How do I prevent the shells from falling over? Packing them tightly in a high-sided baking dish is the best method to keep them upright during baking.
Can I freeze the assembled tacos? It is not recommended as the shells will lose their texture; instead, freeze the meat filling separately for future use.
Love this recipe? Discover even more!
Explore my Pinterest boards for a world of delicious recipes, fresh ideas, and inspiring flavors. Click here and start pinning your next favorite dish! ➜https://www.pinterest.com/ElitesRecipes/
Print
Crispy hard shells filled with seasoned lean beef, black beans, and a mountain of melted cheese, baked to perfection for an easy family dinner.
- Prep Time: 10 minutes
- Cook Time: 25 minutes
- Total Time: 35 minutes
- Yield: 6 servings
- Category: Dinner
- Method: Baked
- Cuisine: Tex-Mex
Ingredients
1 lb lean ground beef
12–14 hard taco shells
2 cups shredded Mexican cheese blend
15 oz can black beans, rinsed
1 medium yellow onion, diced
2 cloves garlic, minced
1 packet taco seasoning
1/2 cup red enchilada sauce
Fresh cilantro for garnish
Instructions
1.Preheat oven to 400°F (200°C).
2.Brown beef with onion and garlic; drain fat.
3.Stir in seasoning, beans, and sauce; simmer.
4.Stand shells in a 9×13 baking dish.
5.Fill shells with beef mixture and top with cheese.
6.Bake 10–12 minutes until cheese bubbles.
7.Serve hot with favorite toppings.
Notes
Pre-warm shells for 2 mins to prevent cracking.
Store leftovers in airtight container for 3 days.
Swap beef for turkey for a lighter version.