Table of Contents
Welcome to the definitive guide for creating the most impressive Red Velvet Cookie Bars in your own kitchen. These vibrant bars are more than just a treat; they are a sensory experience that combines the deep notes of cocoa with a striking crimson appearance. Whether you are hosting a celebratory dinner or simply craving something sweet, these Red Velvet Cookie Bars offer a sophisticated alternative to standard cookies. Their dense, fudgy texture and classic aesthetic make them the star of any dessert table.
Quick Facts / Recipe Snapshot
| Category | Detail |
| Prep Time | 15 Minutes |
| Bake Time | 25 Minutes |
| Yield | 24 Bars |
| Difficulty | Easy |
| Diet | Vegetarian |
What are Red Velvet Cookie Bars?
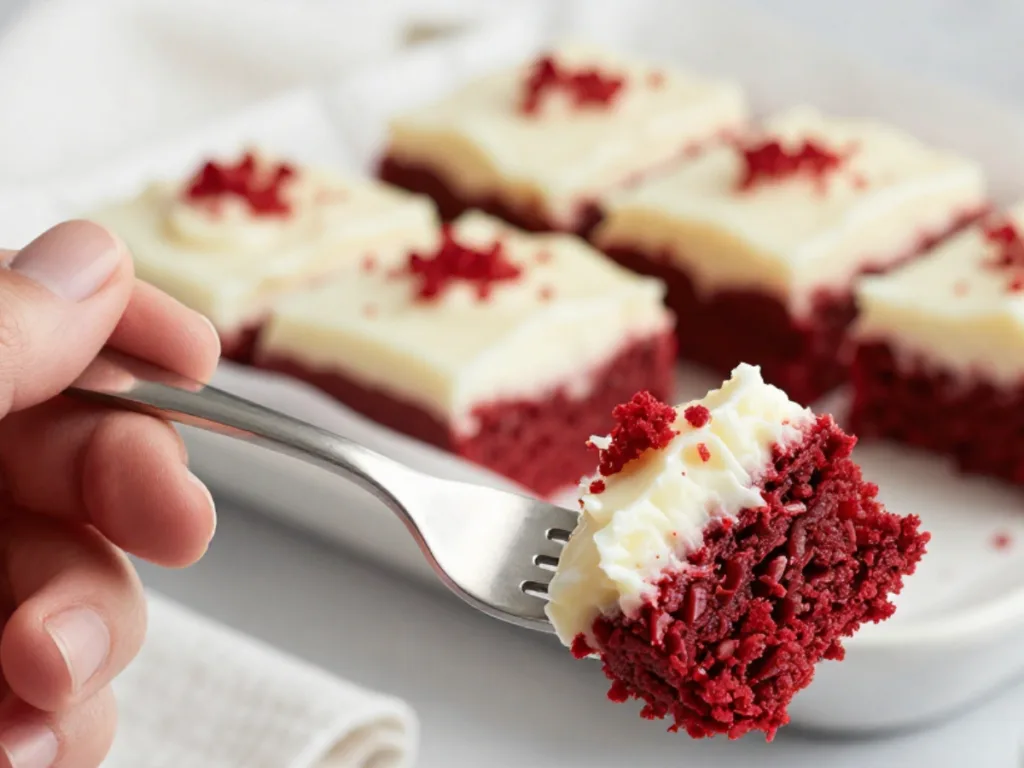
Red Velvet Cookie Bars are a hybrid dessert that bridges the gap between a soft-baked cookie and a rich brownie. Unlike a traditional cake, these bars prioritize a chewy, moist crumb that feels substantial and indulgent with every bite. The flavor profile of Red Velvet Cookie Bars is defined by a mild chocolate base, often enhanced by a slight tanginess that complements the sweetness of the sugar. They are typically finished with a smooth layer of cream cheese frosting, making them a portable and shareable version of the famous cake.
Origins & Inspiration
The inspiration for Red Velvet Cookie Bars traces back to the classic American red velvet cake, which rose to prominence in the mid-1900s. While the original recipes relied on the chemical reaction between acidic buttermilk and cocoa to create a reddish hue, modern versions emphasize a brilliant color through high-quality dyes. This specific recipe adapts that heritage into a convenient bar format, influenced by the modern demand for “traybake” style desserts that are easy to slice and serve. It captures the elegance of boutique bakeries while remaining accessible for home cooks.
Why You’ll Love This Recipe
You will absolutely adore these Red Velvet Cookie Bars for their perfect balance of texture and flavor. The primary benefit is their simplicity; you can achieve bakery-quality results without the stress of layering a cake. The deep cocoa aroma and the vibrant red color provide an immediate mood boost, while the fudgy center offers a comforting chew that everyone enjoys. These bars are versatile enough for school lunches or fancy gatherings, proving that high-end flavor doesn’t have to be complicated or time-consuming.
Ingrédients & Notes
- 1 cup Unsalted Butter: Softened at room temperature to ensure a smooth creamed base.
- 1 ½ cups Granulated Sugar: Essential for the classic chewy edges of the Red Velvet Cookie Bars.
- 2 Large Eggs: Room temperature eggs incorporate much better into the fats of the batter.
- 2 tsp Pure Vanilla Extract: Adds the necessary aromatic depth to balance the cocoa.
- 1 tbsp Red Food Coloring: Gel coloring is recommended for the most intense and stable red shade.
- 2 ½ cups All-Purpose Flour: Provides the structural backbone for these dense dessert bars.
- 3 tbsp Unsweetened Cocoa Powder: Delivers the subtle chocolate undertone characteristic of red velvet.
- ½ tsp Sea Salt: Perfectly balances the sweetness and highlights the cocoa notes.
- 1 tsp Baking Powder: Gives the Red Velvet Cookie Bars a slight lift for a softer bite.
- 1 cup White Chocolate Chips: An optional but delicious addition for extra texture and sweetness.
Step-by-Step Instructions
- Preparation: Preheat your oven to 350°F (175°C). Line a 9×13 inch baking pan with parchment paper, leaving an overhang on the sides for easy removal later.
- Creaming: In a large bowl, use a hand mixer to cream the softened butter and sugar together until the mixture is light, fluffy, and pale in color.
- Liquids: Beat in the eggs one at a time. Once incorporated, stir in the vanilla extract and the red food coloring until the batter is a vibrant, uniform red.
- Dry Ingredients: In a separate medium bowl, whisk together the flour, cocoa powder, salt, and baking powder to ensure there are no lumps.
- Combining: Gradually add the dry ingredients to the wet mixture. Mix on low speed until just combined, taking care not to overwork the dough, which can make the bars tough.
- Add-ins: Fold in the white chocolate chips using a rubber spatula if you are including them in your Red Velvet Cookie Bars.
- Spreading: Transfer the dough to the prepared pan and spread it into an even layer using the back of a spoon or a spatula.
- Baking: Place in the oven for 22 to 25 minutes. The edges should be set, but the center should still look slightly soft to maintain that fudgy texture.
- Cooling: Remove from the oven and allow the Red Velvet Cookie Bars to cool completely in the pan before attempting to frost or slice them.
Tips for Perfect Red Velvet Cookie Bars Every Time
To ensure your Red Velvet Cookie Bars are a success, always measure your flour by spooning it into the cup and leveling it off. This prevents adding too much flour, which can lead to dry or cakey bars. Additionally, using a gel-based food coloring rather than a liquid version will prevent adding excess moisture to the batter, resulting in a more consistent bake. If you want the sharpest edges when slicing, place the entire tray of cooled bars in the refrigerator for thirty minutes before cutting them with a sharp, warm knife.
Variations, Swaps & Add-Ins
The beauty of Red Velvet Cookie Bars lies in their adaptability to different tastes. For a deeper chocolate experience, replace the white chips with dark chocolate chunks. If you prefer a nuttier profile, folded-in chopped pecans or macadamias work wonderfully with the red velvet flavor. For a shortcut version, you can adapt this into Cake Mix Cookie Bars by using a boxed mix and reducing the added fats. You can also swirl in a layer of marshmallow cream before baking for a fun, marbled appearance that kids will love.
Ingredient Spotlight
The cocoa powder is perhaps the most critical element in Red Velvet Cookie Bars, as it provides that elusive, mild chocolate flavor. Using a high-quality natural cocoa ensures the proper acidity for that classic red velvet tang. Another star is the vanilla, which rounds out the sweetness and adds a layer of sophistication. Finally, the salt might seem minor, but it is the secret to making the vibrant red velvet flavor pop, ensuring that the bars aren’t just sweet, but complex and balanced.
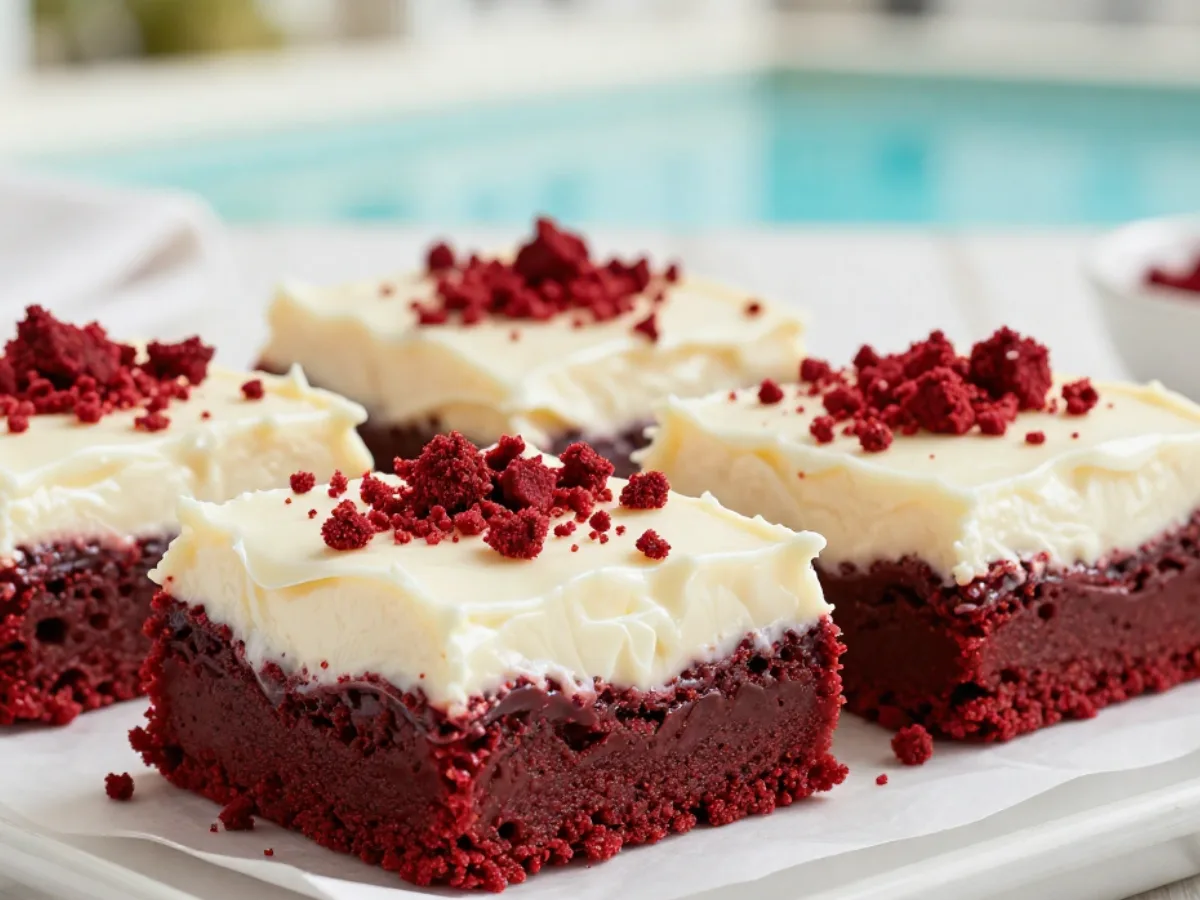
Serving Suggestions (Presentation & Plating)
When serving your Red Velvet Cookie Bars, consider the visual impact of their color. Arranging them on a clean, white marble board or a dark slate platter makes the red hue truly stand out. You can dust the tops with a light coating of powdered sugar or use a piping bag to create elegant rosettes of cream cheese frosting. For a more casual look, simple squares with a few red crumbs sprinkled over the top hint at the deliciousness inside and make the bars look professionally crafted.
Best Sides to Serve With Red Velvet Cookie Bars
These Red Velvet Cookie Bars are rich enough to stand alone, but they pair beautifully with light accompaniments. A side of fresh, tart raspberries or sliced strawberries can provide a refreshing contrast to the fudgy density of the bars. For a decadent dessert platter, serve them alongside a small bowl of whipped cream or a light vanilla mousse. If you are serving them as a snack, a handful of lightly toasted almonds adds a nice crunch that complements the soft texture of the cookie base.
Flavor Pairing & Beverage Match
Matching your Red Velvet Cookie Bars with the right drink can elevate the entire experience. A cold glass of whole milk is the traditional partner, as the dairy cuts through the richness of the cocoa. For a warm option, a smooth café au lait or a medium-roast coffee highlights the vanilla notes. If you are hosting a festive brunch, a sparkling apple cider or a light herbal tea like hibiscus can echo the vibrant color and provide a crisp finish that cleanses the palate between bites.
Make-Ahead & Storage Guide
One of the best things about Red Velvet Cookie Bars is how well they store. You can bake them a day in advance, and they will remain moist and chewy if kept in an airtight container at room temperature. If you have added cream cheese frosting, it is best to store it in the refrigerator. These bars also freeze beautifully; wrap individual portions in plastic wrap and store them in a freezer-safe bag for up to three months. Simply thaw them on the counter for an hour before you are ready to enjoy them.
Budget & Pantry Strategy
Creating these Red Velvet Cookie Bars is a cost-effective way to make a large batch of premium treats. Most ingredients, like flour, sugar, and baking powder, are already staples in most kitchens. To save even more, look for bulk packages of chocolate chips and store-brand butter. By keeping these basics on hand, you can whip up a batch of Red Velvet Cookie Bars whenever you need a quick and impressive dessert. Utilizing leftover frosting or ingredients from other projects also helps minimize waste and keep your baking budget in check.
Choosing Quality Red Food Dyes
The brilliance of your Red Velvet Cookie Bars depends heavily on the type of coloring used. Liquid food colors from the grocery store often contain too much water, which can thin out your dough and lead to a less vibrant finish. Professional-grade gel or paste colors provide a deep, concentrated pigment that holds up well during the baking process. When making Red Velvet Desserts, it is best to add the color to the creamed butter and sugar first. This ensures even distribution throughout the entire batch of Red Velvet Cookie Bars, preventing any streaks or pale spots in the final product.
FAQs
- Can I use a cake mix for these? Yes, you can make Cake Mix Cookie Bars by following similar steps with a box of red velvet mix.
- How do I get a brighter red? Use gel food coloring instead of liquid for a more concentrated and vibrant appearance.
- Do I have to use white chocolate? No, but it adds a lovely sweetness that balances the cocoa in the Red Velvet Cookie Bars.
- How long do they last? They stay fresh for 3-4 days at room temperature or up to a week in the fridge.
Love this recipe? Discover even more!
Explore my Pinterest boards for a world of delicious recipes, fresh ideas, and inspiring flavors. Click here and start pinning your next favorite dish! ➜https://www.pinterest.com/ElitesRecipes/
PrintRed Velvet Cookie Bars
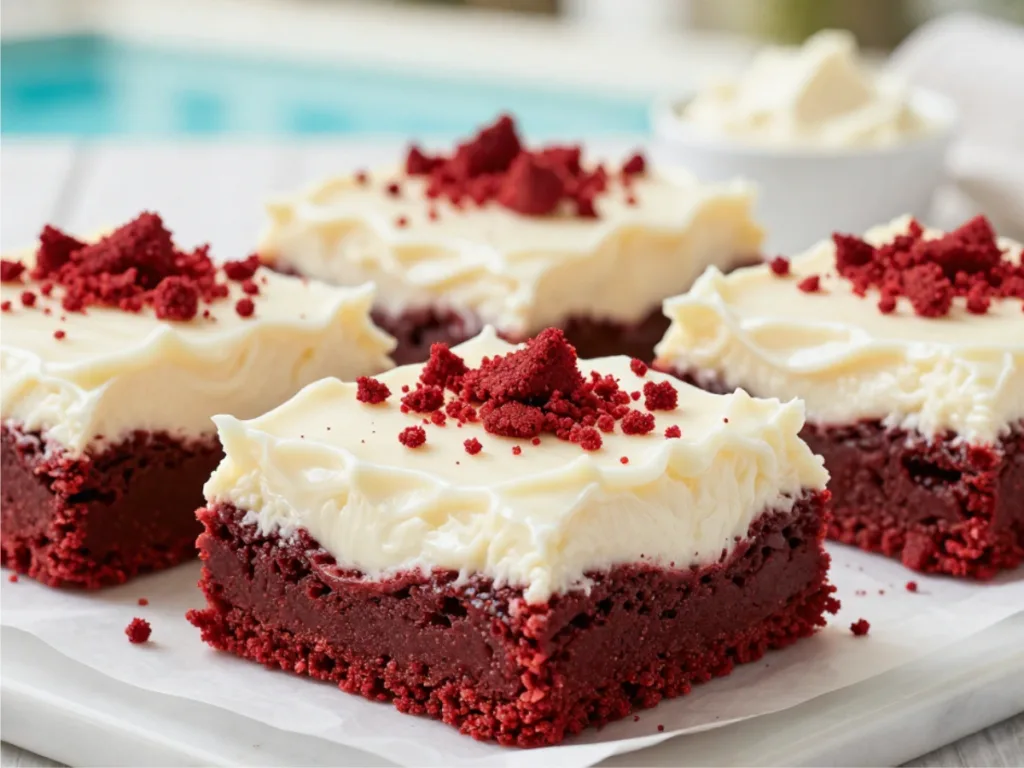
These vibrant Red Velvet Cookie Bars are thick, fudgy, and incredibly easy to make. Topped with a classic cream cheese frosting, they are the ultimate crowd-pleasing dessert.
- Prep Time: 15 minutes
- Cook Time: 25 minutes
- Total Time: 40 minutes
- Yield: 24 servings
- Category: Dessert
- Method: Baking
- Cuisine: American
- Diet: Vegetarian
Ingredients
1 cup unsalted butter, softened
1 1/2 cups granulated sugar
2 large eggs
2 tsp vanilla extract
1 tbsp red gel food coloring
2 1/2 cups all-purpose flour
3 tbsp unsweetened cocoa powder
1/2 tsp salt
1 tsp baking powder
1 cup white chocolate chips
Instructions
1. Preheat oven to 350°F (175°C) and line a 9×13 pan.
2. Cream butter and sugar until light and fluffy.
3. Beat in eggs, vanilla, and red food coloring.
4. Whisk dry ingredients and gradually add to wet mixture.
5. Fold in white chocolate chips and spread in pan.
6. Bake for 22-25 minutes until edges are set.
7. Cool completely before frosting and slicing.
Notes
Use gel food coloring for the brightest red color.
Do not overbake to keep the bars fudgy.
Store in the fridge if using cream cheese frosting.